
How to Set Up Two Monitors the Right Way for CAD Work
Two monitors are standard in design work, so you bought a second screen for every desk. Then the wrong resolution, the wrong cable, and the wrong port on the back of the tower turned a cheap productivity win into a week of complaints.
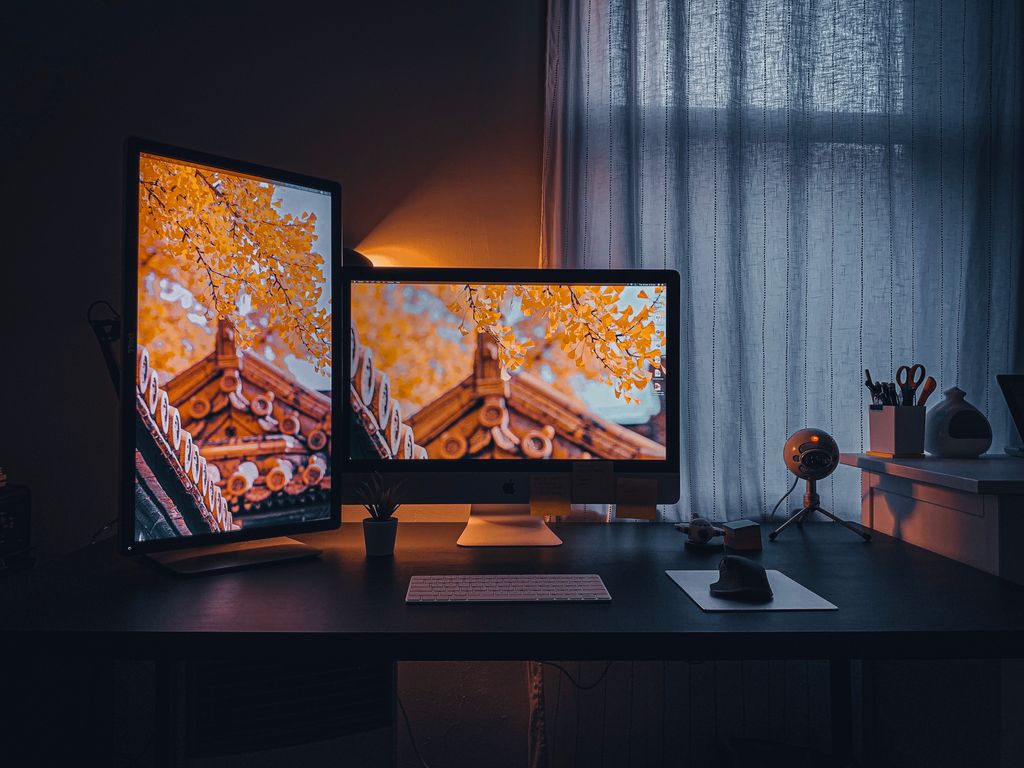
A second monitor is one of the cheapest upgrades you can give a designer. Model on one screen. Tool palettes and reference drawings on the other. No more constant alt-tabbing, no more shuffling windows. But there is a right way and a wrong way to set it up. Done wrong, you get mismatched screens, a port everyone thinks is broken, and a mouse that goes the wrong direction.
Here is the short version. For CAD work, set up two monitors by first checking that your graphics card can drive them, then matching the two screens (same model if you can), plugging both into the dedicated graphics card and not the motherboard, and arranging them in Windows so the mouse moves the way the screens sit on your desk. Put your model on one screen and your palettes and references on the other. Match the resolution and the physical size so the same scaling looks right on both. Then set the height so the top of each screen sits at eye level.
Why two monitors is such a win for CAD
Design software is full of panels. Tool palettes, the project browser, properties, reference drawings, a PDF of the spec. On one screen, all of that fights for space with your model. You are constantly hiding one thing to see another.
A second monitor solves that. The model goes front and center on one screen. Everything else lives on the other.
For example, let’s say you are modeling from a marked-up PDF. On two screens, the PDF sits open on the right while you build on the left. No flipping back and forth. That is real time saved, all day.
We are not going to hand you a productivity percentage, because most of the dual monitor studies you will find were paid for by companies that sell monitors. The practical case is simple enough: more room for the model and the references at the same time. The hard part is setting it up right.
A monitor plugged into the motherboard port often shows nothing at all. It looks dead. It is not dead. The cable is in the wrong hole.
Step 1: Check your graphics card first
This step is easy to skip, and it is the one that turns a good upgrade into a bad week.
A second monitor is not free work for your computer. Two 1440p screens is roughly twice the pixels of one, and your graphics card has to push all of them. Bolt a second high resolution screen onto a five year old workstation with a weak card or low VRAM (the memory on the card itself), and your 3D views in Revit or Civil 3D can get slower, not faster. Then everyone blames the new monitor.
So before you buy anything, check three things:
- How many outputs does the card have? Most real workstation cards have three or four. One usable output means the card is too basic for serious dual screen CAD.
- Is there enough VRAM? Autodesk’s Revit 2027 requirements call for a graphics card with at least 4 GB of video memory, 6 GB for the value tier, and 8 GB for the performance tier. Built in graphics that borrow system memory do not meet that bar well.
- Is the driver on Autodesk’s certified list? A driver that is not listed may still work, but Autodesk has not tested it, and you are on your own when something looks wrong.
If any of those come back bad, fix the workstation first. More on that in our post on whether your workstation is slowing down Revit or Civil 3D.
Step 2: Match your two monitors
The next mistake firms make is grabbing whatever spare monitor is in the closet and pairing it with a newer one. It works, but it is not great.
When two monitors are different sizes, resolutions, or ages, the picture does not line up. Text is bigger on one than the other. Colors look different. Your eyes and your mouse adjust every time you cross between them.
The fix is simple. Use two of the same monitor if you can. Matched screens mean the same size, the same resolution, and close to the same color, so the two feel like one workspace. If you cannot match them exactly, match the resolution and the physical size. For CAD, a good target is two 27 inch monitors at 1440p (2560 by 1440) or higher, with slim bezels so the gap between them is small.
One honest caveat. Buying the same model twice gets you close on color, not perfect. Panels drift between production runs. Buy them at the same time when you can.
Two screens is not the only right answer. Some designers would rather have one large ultrawide (a 34 or 38 inch screen shaped like two side by side) or one 32 inch 4K, specifically so no bezel runs down the middle of a wide site plan or a long section. That is a legitimate setup, not a mistake. If your people work on long horizontal drawings, an ultrawide may serve them better. If they need one screen fully dedicated to reference material, two screens usually wins.
Step 3: Plug both into the graphics card, not the motherboard
This is a common connection mistake, and the usual advice gets the reason wrong.
Look at the back of a desktop. There are video ports in two places. A tall stack of ports built into the motherboard, and a separate row of ports on the graphics card itself, sticking out of its own slot. On a normal tower the card sits lower, but do not go by height. Small form factor desktops flip the layout. Go by shape: motherboard ports are mixed in with the USB and network jacks, and the card’s ports sit together in their own row.
Both cables go into the graphics card.
Now the part most articles get wrong. People will tell you a monitor on the motherboard runs slow off weak built-in graphics. Often that is not what happens. Intel’s support documentation says some desktops automatically turn the integrated graphics off when they detect a dedicated card. On those machines, that screen shows nothing at all. Then someone calls and says the new monitor is dead. It is not dead. The cable is in the wrong hole.
Worth knowing: many real workstations (Xeon and Threadripper builds) have no integrated graphics at all, so there are no motherboard video ports to get wrong.
On cables: DisplayPort is the right default, but not for the reason you usually hear. At 27 inch 1440p, a modern HDMI connection carries the signal fine. DisplayPort wins because it is what workstation cards mostly ship with, and because it can daisy chain (run a second monitor out of the first one) on monitors that support it. Two important things to remember. Use a VESA certified cable, because a lot of flickering second screen tickets are just a cheap cable. And check the monitor’s on screen menu, because some ship set to DisplayPort 1.2 and cap your refresh rate until you change it.

If you are on a laptop, the rules are different
Everything above assumes a desktop. Plenty of small firms run mobile workstations, and there the advice changes. You cannot plug into the graphics card, because you are plugging into a dock. Not all docks are the same, and the wrong one is bad for CAD.
DisplayLink docks connect over plain USB. Your CPU compresses the screen image, sends it as regular USB data, and the dock decompresses it. That works fine for email and spreadsheets. For CAD it is a risk. When a lot of the screen changes at once (spinning a 3D view, panning a big drawing), the CPU has more work to do, and the picture can lag or lose sharpness.
Thunderbolt and USB-C docks that use DisplayPort Alt Mode pass the real video signal straight through from the machine’s graphics. That is what you want.
You should ask the vendor which one a dock uses before you buy. If the spec sheet says DisplayLink, test it with your real CAD work before you buy one for every designer.
Free download: Workstation Buying Guide
A plain English guide to choosing CAD and BIM workstations that will not slow your team down.
Step 4: Arrange and scale them correctly in Windows
Here is the small thing that drives people crazy. You move the mouse to the right edge of the left screen, expecting it to slide onto the right screen, and instead it stops dead or jumps somewhere odd.
That happens because Windows does not know how your monitors sit on your desk. You have to tell it. In Windows display settings, drag the two monitor boxes so they match the real screens: left one on the left, right one on the right, lined up by height. Then the mouse flows naturally. While you are in there, pick which screen is your main display (the one with the taskbar, where programs open).
Then set the scaling, and here the common advice is too simple. Scaling is how big Windows draws text and icons. People will tell you to set both screens to the same number. That is only right when the two screens have the same pixel density, meaning the same resolution and the same physical size. Microsoft’s guidance is to select each display and use the value marked “(Recommended)” for it. A 27 inch 1440p screen next to a 24 inch 1440p screen at the same scaling gives you text that is physically different sizes, the opposite of what you want. Match the hardware and the scaling takes care of itself.
One CAD warning. Autodesk applications have a long history of trouble with per monitor scaling. Autodesk publishes a support article on dialog box positions not being preserved across dual monitors, and blurry or wrong sized dialogs are a known annoyance when apps get dragged between screens. Another reason to match the two monitors instead of mixing them.
Related: when a machine sleeps, or a laptop leaves the dock and comes back, Windows sometimes forgets the layout and piles every window onto one screen. That is not you doing something wrong. Matched monitors and current drivers reduce it.

Step 5: Set the height and the distance
This step decides whether your designers thank you in three months or complain about their neck.
OSHA’s computer workstation guidance is clear. Put the monitor at a height where you look straight ahead without tilting your head, with the top of the screen no higher than your horizontal line of sight, and set the viewing distance between roughly 20 and 40 inches. Monitors sitting on top of a computer case end up too high for almost everybody.
For two screens, put the one you work in most directly in front of you and angle the second one in toward you. Do not straddle the seam between two screens with your face. That is what makes people turn their head all day.
Monitor arms are cheap and they fix height, distance, and the bezel gap at once. On a two screen rollout, budget for them.
Step 6: Put each screen to work
The basic idea: model on one, everything else on the other.
Revit has supported this since Revit 2019. Drag a view tab out of the main Revit window and drop it on the second monitor, so you keep a plan open on one screen while you work a 3D view on the other. Set Windows to “Extend these displays” first.
AutoCAD can do this too, and this is where a lot of older advice online is out of date. AutoCAD 2022 and AutoCAD LT 2022 added Floating Drawing Windows. You drag a drawing file tab off the AutoCAD application window and it becomes a floating window you can drop on the other monitor. Autodesk’s documentation is direct: one or more drawing files can be moved onto another monitor. There is a system variable, SYSFLOATING, that controls it.
On AutoCAD 2021 or older, that feature does not exist, and you are stuck opening a second session to get two drawings side by side. That works, but it doubles the memory in use and makes external references and clipboard behavior messier. If your team is on 2021 or older and fighting this daily, that is a real argument for getting current.
Bluebeam, your project browser, a reference PDF, your email: all of it has a natural home on the second screen. The goal is to stop covering up your model.
A quick word on color and prints
Here we want to correct something you will read on a lot of IT blogs.
If your plotted sheets do not match what you see on screen, a calibrated monitor will almost never fix it. In AutoCAD and Civil 3D, printed color and lineweight are decided by the plot style table (the CTB or STB file attached to your layout). Autodesk’s documentation is explicit that a lineweight set in the plot style overrides the object’s own lineweight when it plots. A red line on your screen prints black at a set weight because the CTB says so. Calibrate that monitor perfectly and the plot comes out exactly the same.
So if prints are the problem, look at the plot style table first. We cover that in our post on why your prints do not match your screen.
Monitor color accuracy still matters, just for different work. Renderings, presentation boards, marketing images, anything where the screen image itself is the deliverable. If your firm does that work, buy monitors rated for color accuracy and calibrate them. If your firm plots sheets, put that money into the workstation instead.
Frequently asked questions
What this means for your firm
A second monitor is a small spend with a real payoff, but only when the whole chain is right: a card that can drive it, matched screens, the correct ports, sane scaling, and a height that does not wreck somebody’s neck. Get one link wrong and the upgrade feels like a downgrade, and you have paid for hardware that made your billable hours slower.
Our managed IT services help small architecture and engineering firms spec and set up workstations, docks, and monitors that make designers faster instead of frustrated. Based in East Tennessee. Serving firms nationwide. We check the graphics card before we quote the screens, because that is what actually decides whether this works.
If your team is squinting at one screen, or fighting a two monitor setup that never felt right, give us a call for a free IT checkup. We will help you get every desk set up right, so your team can focus on the work, not on wrangling windows.
Key takeaways
- Check the graphics card before you buy monitors. On a weak card or low VRAM, a second screen can make Revit and Civil 3D slower, not faster.
- Match the two monitors on resolution and physical size, plug both into the dedicated card (a monitor on the motherboard port often shows nothing at all), and on a laptop prefer a Thunderbolt or DisplayPort Alt Mode dock over DisplayLink.
- Arrange the screens in Windows so the mouse flows, use each display’s recommended scaling, set the top of the screen at eye level, and remember that plot color and lineweight come from your CTB or STB file, not your monitor.
Want every desk set up to make designers faster?
We check the graphics card before we quote the screens, then set up workstations, docks, and monitors the right way across your whole office. No obligation, no sales pitch.
Sources: Floating Drawing Windows (AutoCAD Help); Floating Drawing Windows (AutoCAD LT 2022); Display Revit model views on dual monitors (Autodesk); About Plot Style Tables (Autodesk); Dialog window positioning is not preserved on multiple monitors (Autodesk); Revit Certified Graphics Hardware (Autodesk); What graphics card will provide the best performance in Revit (Autodesk); How to enable Intel integrated graphics on desktops with a discrete card (Intel); Displays not working when system has both integrated and discrete graphics (Intel); Change your screen resolution and layout (Microsoft); DisplayLink Graphics (Synaptics); DisplayLink Multi Monitor FAQ (Synaptics); Computer Workstations eTool: Monitors (OSHA); DisplayPort 1.4 Standard (VESA); Revit 2027 system requirements (Autodesk)